
Managing Failure Modes
My son visited recently. We learned how to fly radio controlled models together over 25 years ago. After leaving home he didn’t fly them again until this visit. Having a couple of flights, he did a beautiful job. That doesn’t surprise me, as he is currently a commercial airline pilot, and previously flew KC-135 tankers as well as UAVs.
As he has been watching the RC Jim videos, he has heard me talk about various incidents – mine and others. He said to me: “Dad, you guys are much too casual about risk.” (or something to that effect) For some reason he thinks that crashing ought not to be part of flying! Imagine that!
Well, that did get me thinking about giving more attention to risk management. We do that in business – whether it has to do with a product that we manufacture, or just the operation of the business itself. And with that attention we then put in elements to protect it and us.
So, in the videos that I’m producing related to this article, I want to go through an evaluation of risk management regarding our flying, determine the risks, work out how to avoid and/or manage them, then make some recommendations related to that.
Failure Modes
We need to begin by considering what can go wrong, and how that happens. Those are called “failure modes.” In this article we are going to focus on the ‘disastrous’ sort, having to do with loss of control of the airplane when flying, resulting in a crash – potentially damaging people or property, including the plane itself. There are other important ones, such as shop safety when working on the plane, and especially not allowing the prop to chop your hands to bits in the pits, but we will leave that for another time.

Mechanical/structural
| Failure mode | Mitigation (how to avoid or fix) |
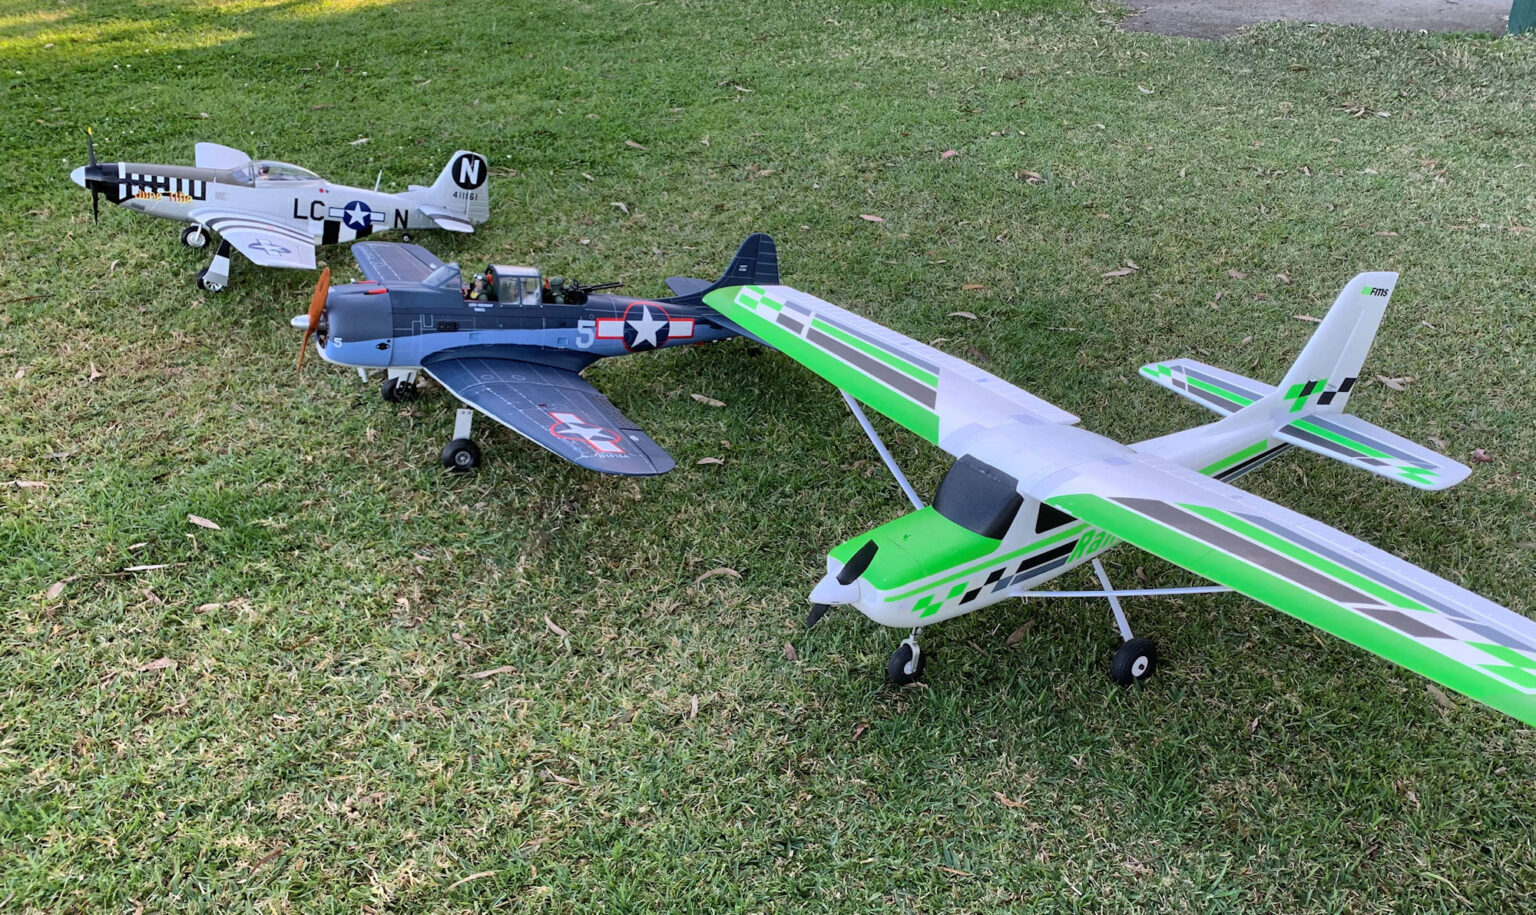
| Over stressing the plane in maneuvers resulting in breaking a component. | – Proper construction – Evaluate the plane’s strength and fly accordingly Note RC Jim’s comments about the FMS Corsair wing with retracts compromising the structure. Click here for video. |
| Components vibrating loose – Control horns, servo arms – Wing attachments – Motor mounts – Control surface hinges | – Utilize thread locker where appropriate – Use pins to secure hinges – Inspect regularly – visually and by pushing, pulling etc. – Vibration isolators in motor mounts for glow fuel engines – Properly balanced prop How about control horns fastened to the rods with grocery store food bag ties! That’s how this model was when I acquired it! 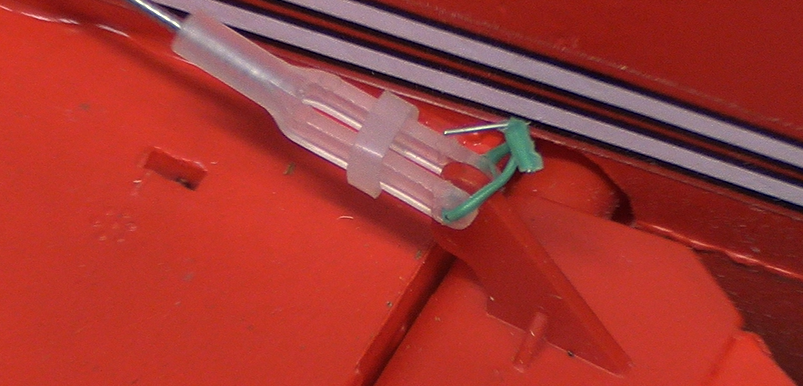 |
| Component missing – Failure to put in a screw or attach a clip – Failure to install the spar tube in the main wing – Failure to change out the spent battery with a fresh one | – Have a checklist of items to do before a flight, including a list of items to put in place – Always check the battery voltage before buttoning up the plane |
| Component shifting during flight – Battery slides forward or back – Battery pops off magnetic cockpit cover with negative Gs – Electronic gear flops around causing a connection to be severed – Antenna pulls itself into a coil and becomes less effective | – Have adequate provisions for securing battery – Don’t depend on a magnet to secure the battery – Secure receiver and ESC with velcro – Use a receiver with two antennas, and secure them with tape or a plastic tube so that they are right angles to each other – or use a receiver with built in antennas See “Great Planes Trainer 40 Antenna Placement” |
| Stripped gear in servo | – When installing servos, ensure that the control rod & surface do not hit a hard stop before the servo has moved the maximum. If it is going to do that, use a hole closer in on the servo control arm. – Make sure your servos are properly sized for the application. – Check at home and at the field that the servo is not forced to stop before it reaches maximum travel. – Watch the control surface as you slowly move the stick, and listen for a hum when it reaches its maximum position. – When testing the controls before flight, look for any “dead spots” as you move the control stick, and listen for grinding sounds. – Be careful when setting up mixing for flaperons or elevons where additional travel may be called for with a combination of control inputs. |

Electronic
| Connection failure – Corrosion – Vibration – Handling – Deterioration | – Tape cable connections. – When setting up, test servos with receiver while wiggling cables. – Regular visual inspection. – When handling cables, press together/press in all connections when you finish, making sure they are all fully connected. Note that over time, connectors handling high current levels will deteriorate. That can be evidenced by poor performance. Replace them when that appears to be the case. |
| Heat damage to motor, ESC, cables or battery – “Cooked” ESC damages BEC (battery elimination circuit), totally cutting off power to the receiver. – ESC fail safe doesn’t work, motor quits, plane crashes and possibly burns. – Overheated component causes the plane to catch on fire. – Electrical short in component causes “runaway” current through battery, resulting in fire or explosion. | – Make sure you have properly matched components regarding current capacity. – If your ESC has a mode in which it is trying to maintain a given RPM with each throttle setting, turn that off. That setting is only for helicopters. In a plane it can cause a huge current draw if the prop hits the ground. – When setting up your plane, make sure there is adequate ventilation to the motor, ESC and battery. – For large, expensive planes, you may want to use a separate battery for the receiver. If that is going to create a weight problem, you might consider using an ESC including a BEC which is physically separated from the main part of the ESC. – After each flight, feel each of the components (taking care not to burn yourself!) to see if any are getting excessively hot. Smell for any burning electronics. – If your battery is swelling, replace it and dispose of it properly. See our video re. That. – If there is visible physical damage to a component after a crash or other incident, replace it. See related YouTube videos: Electric RC Plane Component Selection Electric RC Plane Motor Testing All You Need to Know About RC Plane Batteries Introduction to ESC Programming for RC Planes |
| Low receiver voltage, causing motor to stop, and potentially loss of control. – Temporary voltage reduction due to high current draw. – Ongoing voltage reduction due to overdrawing battery. | See our relevant videos on ESC programming (above), and the video on fail safe settings for the receiver, set through the transmitter. |
| Loss of radio signal to plane. – Too far away – Antenna on plane or transmitter pointed directly at the other one. – InterferenceSpent battery in transmitter – Poor connection on transmitter battery | – A typical airplane transmitter has something over a 1 km range. Stay well within that. – Be careful around high tension power lines. – Make sure your receiver has two antennas which are positioned perpendicular to each other. – Where your transmitter has a bendable main antenna, set it to be roughly perpendicular to the line of sight between you and the airplane. – Use a transmitter that has two antennas, and a good frequency hopping protocol. – As you fly, rotate your body & transmitter to always be facing your plane. – Make sure the fail safe provisions of your receiver have been properly programmed. See our next video regarding the details for this. See “Great Planes Trainer 40 Antenna Placement” |

Aerodynamic
| Under powered, making it difficult to establish adequate airspeed. | – Try to have the maximum thrust equal to the weight of the plane including battery/fuel. For 3D aerobatics, it needs to be significantly more. – If slightly underpowered, allow a lot more runway length for taking off. Also use energy conserving techniques in flying such planes, such as diving to build up airspeed before doing a loop. See our YouTube video:Electric RC Plane Motor Testing |
| Improper balance | – Adjust battery position and/or ballast weights to balance the plane near the middle of the range recommended by the manufacturer. – Where that position is not known, start with 25% to 33% back from the leading edge at the distance out from the fuselage where the center of the geometric area of the wing is located. See our video on the details of how to do this: RC Plane CG Location & Balance. – If the side to side balance is way off of the centreline, add weight to correct – generally this is not a problem unless you have a camera mounted on one wing.For glow fuel planes, try to have the fuel tank close to the fore-aft location of the desired centre of gravity. This keeps it from changing the balance significantly as fuel is consumed. |
| High wing loading leading to a high speed stall | – Light wing loadings tend to help the plane handle sudden changes in pitch. – Planes with high wing loading (a relatively heavy plane for the size of its wings) need to be flown smoothly, without sudden control movements, especially with the elevator. You need to anticipate what you want to happen next, and move into it with gentle control movements. – Naturally, using light weight building techniques will help. If you are getting started, begin with a “foamy.” A good example: FMS Ranger 1800 RC Trainer Demo |
| Improper trim settings, making the plane difficult to control | When you first fly the plane, start with just flying the pattern, making trim settings down each of the downwind and upwind legs. |
Personal
| Pilot error – Brain glitch – Improper technique – Failure to take in relevant information – Evidence of a control problem – Airspeed – Proximity to hazards – Entering into a situation that requires a greater skill level than where you are presently at – Distraction or stress – Not performing remedial steps as a problem becomes apparent – Risky actions | – Get yourself in a good mental state before you fly. Interact socially with the other pilots. – Work on your flying techniques. Start with the basics, and get them really solid before moving into more complex things. See our video on Learning to Fly RC Planes. – Know your plane well. Fly at different airspeeds, and see how that affects the controls. Get several mistakes high, and slow the plane down to close to a stall and note the attitude of the plane and how the controls are responding. – If a problem becomes apparent: – Make sure you and the transmitter are facing the plane – Call out verbally to the other pilots and let them know what’s happening – If you have a battery fail safe programmed, reduce power and flick the switch to reset itIf the plane is not responding to aileron control, try the rudder – If the plane is headed for a crash, cut the throttle – Land as soon as possible, even if it means landing in the wrong direction. Again, let the others know what you are doing. |
| Other pilot failure | It’s always wrong to smash into another plane, even if they are doing the wrong thing.If another pilot is doing something unsafe, talk to them about it. Refer it to your club management if it continues to be a problem. |
That’s what I’ve come up with thus far. If you can think of additional ones, put them in the comments under this YouTube video. Do the same with your additional insights on how to handle the above situations.
In our next video on Fail Safe Management, we will be looking at what you can do with the various electronic components. The ESC and receiver each have aspects of fail safe provisions that can be programmed into them. And the transmitter will normally be used to make the fail safe settings on the receiver.
Following that we will do a series of videos on how to make those settings on specific brands and models of radio gear. So, have a look at YouTube.com/@RCJim and subscribe so that you don’t miss anything!
Download a pdf document of this article: